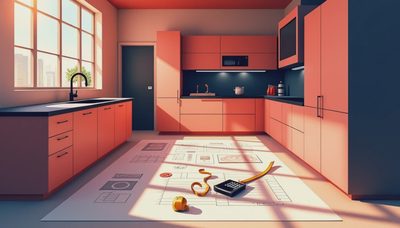
Learning how to measure a bathroom is one of the simplest ways to prevent expensive renovation mistakes. Before you price new flooring, compare vanities, or ask a contractor for a bid, you need dependable dimensions. A room that looks small can still require more tile than expected, while a few inches of error can make a vanity, door, or toilet layout fail. If this were my listing next month, I would measure first and shop second.
The goal is not architectural perfection. You need a clear record of the room's length, width, ceiling height, door openings, windows, plumbing fixtures, and obstacles. Use a 25-foot tape measure, pencil, graph paper or a notes app, and a helper if possible. Measure in inches, record the result immediately, and write down whether each number is wall-to-wall, finished surface-to-finished surface, or opening size.
Start With a Simple Bathroom Sketch
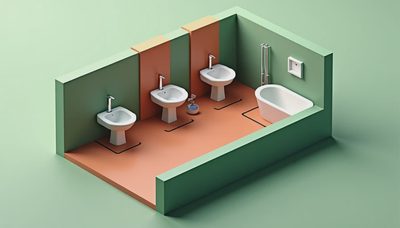
The best way to measure a bathroom is to draw the room before taking detailed readings. Stand at the doorway and sketch the basic shape, including doors, windows, closets, soffits, and any bump-outs. Most bathrooms are rectangular, but older homes often have jogs around plumbing chases or linen cabinets. Those changes affect flooring quantities and installation labor.
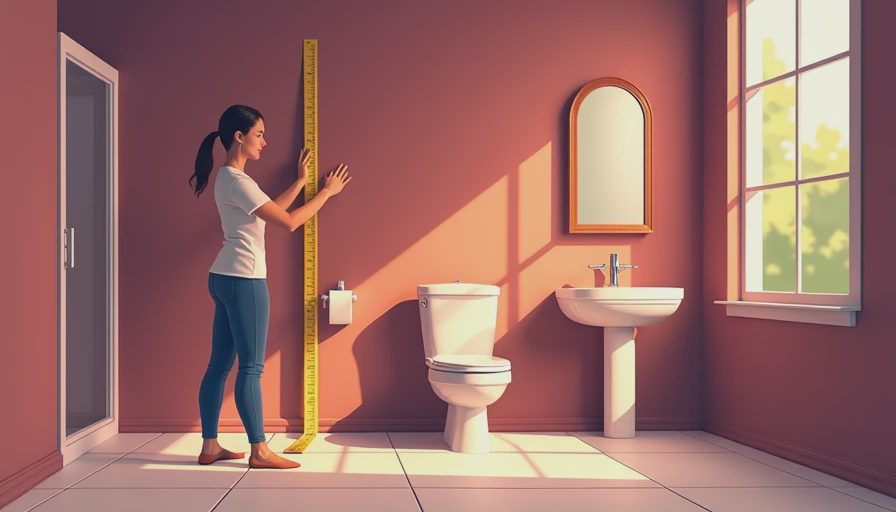
Measure the overall length from one finished wall to the opposite finished wall. Then measure the overall width at the widest useful points. If the room is not a perfect rectangle, divide it into smaller rectangles and label each section. Do not assume the walls are square. Take a second length measurement near the floor and another at waist height if a cabinet will be installed. A difference of half an inch can matter when a vanity must fit between two walls.
Record the ceiling height as well. Standard height is often around eight feet, but a lower ceiling, sloped ceiling, or boxed duct can change the appearance of a bathroom and the cost of wall treatment.

Measure Doors, Windows, and Clearances
When learning how to measure a bathroom, homeowners often focus on the floor and overlook moving parts. Measure the door slab, frame, and the distance from the nearest wall to the opening. Note whether the door swings into the bathroom, into a hallway, or slides. A new vanity or towel cabinet cannot block the swing, and a wider replacement door may reduce usable clearance.
For every window, record the width and height of the frame, the sill height above the floor, and the distance from each side wall. Note whether the window is inside the shower area. A replacement window in a wet zone requires appropriate moisture-resistant materials and careful trim details, so its location belongs in the contractor scope.
Measure clear walking space around the toilet, vanity, and tub. You do not need to redesign the entire room to improve resale appeal, but you do need to avoid creating a cramped one. Take photographs from the doorway and from each corner. Photos help explain the layout when you request estimates and can reveal awkward relationships that numbers alone do not show.
Capture Fixture and Plumbing Locations
A reliable bathroom measurement includes the fixtures that are expensive to move. Measure from the nearest side wall to the centerline of the toilet drain, then from the back wall to that same centerline. Measure the vanity width, depth, and height, along with the sink centerline and the location of water supply lines. For a tub or shower, record the outside dimensions, curb width, drain position, valve location, and showerhead height.
If you are replacing fixtures without changing the layout, these measurements help you shop intelligently. A toilet with a different rough-in dimension may not fit the existing drain location. A deeper vanity can interfere with a door or make a narrow walkway feel even tighter. Moving plumbing can add several thousand dollars once flooring, wall repair, and permits are included, so preserving the existing arrangement is often the better pre-sale choice.
This is where how to measure a bathroom becomes a budgeting tool rather than a math exercise. The numbers tell you whether a refresh is realistic or whether a proposed design depends on costly relocation.
Calculate Flooring, Tile, and Paint Quantities
Measure the usable floor area by multiplying length by width, then subtract spaces that will not receive flooring, such as a large built-in cabinet. Add roughly 10 percent for cuts and waste, or closer to 15 percent for diagonal patterns, small tiles, or a room with multiple corners. Order from the same dye lot and keep a few spare pieces for future repairs.
For wall tile, measure each wall separately. Multiply wall width by the height to be tiled, then subtract major openings such as doors and windows. Do not subtract every small fixture or pipe penetration; installers still need extra tile for cuts and breakage. Shower walls deserve special attention because waterproofing, niches, benches, and curb details can make the tiled area larger than expected.
Paint estimates work the same way, but bathroom ceilings and trim should be listed separately. A small bathroom may use less than a gallon for walls, yet buying a washable bathroom-rated product and the correct primer matters more than saving a few dollars on leftover paint.
Turn Measurements Into a Resale-Smart Scope
Once you know how to measure a bathroom, compare the room's condition with the price range of nearby homes. If the bathroom is clean but dated, a new light fixture, mirror, faucet, paint, caulk, and professionally installed flooring may create more buyer confidence than a $20,000 custom remodel. If the grout is failing, the exhaust fan is weak, or there is evidence of a leak, correct those problems before decorative upgrades.
For a typical mid-range pre-sale refresh, a practical working budget might run from $3,000 to $8,000 depending on labor, materials, and hidden damage. A full layout change can exceed $15,000 quickly. Exact costs depend on your market, but the decision logic is consistent: spend first on visible condition, function, and water protection. Matte black hardware or a trendy patterned tile is not a substitute for solid installation.
Choose finishes that fit the neighborhood. A simple white or soft gray tile, a durable vanity, bright lighting, and clean chrome or brushed nickel hardware usually appeal to more buyers than highly personal finishes. The question is not whether the bathroom can be nicer. The question is whether the improvement helps the sale.
Give Contractors Measurements They Can Use
Before requesting bids, rewrite your notes into a one-page scope. Include room dimensions, ceiling height, door and window sizes, fixture locations, photos, and the work you want completed. State clearly whether the layout stays in place. Ask each contractor to price demolition, disposal, waterproofing, tile, plumbing, electrical work, finish carpentry, painting, and cleanup separately.
If a contractor measures again during a site visit, that is a good sign. Your measurements organize the conversation; they should not replace professional verification before materials are ordered. Compare bids by scope, not just by the bottom-line number. A $5,500 quote that excludes waterproofing or disposal is not cheaper than a $7,000 quote that includes both.
Use how to measure a bathroom to control the project, not to pretend every unknown has been solved. Keep your sketch, photos, and receipts together, and reserve roughly 10 percent for surprises in an older home. Buyer confidence matters before buyer compliments. Don’t renovate for applause. Renovate for the next offer.