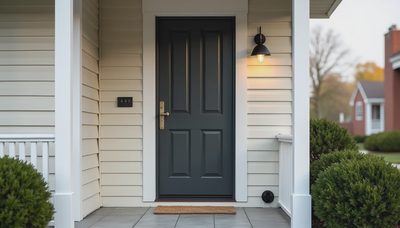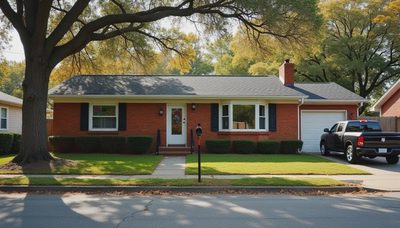

After eight years running residential renovation projects around Charlotte — bid reviews, scope planning, standing in a muddy front yard at 7 a.m. waiting on a subcontractor — I moved into pre-sale renovation consulting. The most common question I hear from sellers is about renovations before selling a house, and most people ask it the wrong way. They ask, "What should we redo?" The smarter question is, "In what order should we do it?" That order is the difference between a smooth listing and a panic-filled final month.
The Order Matters More Than the Project List
Buyers form their opinion in a sequence, and so should your renovation plan. They size up the roofline and siding from the curb, they feel the mechanicals during the inspection, and only then do they judge the surfaces as they walk the rooms. Effective renovations before selling a house follow that same sequence in reverse: you protect the things buyers see first, and you do the messy, structural work before you spend money on anything cosmetic that could get damaged afterward.
The second reason for a strict order is construction disruption. Flooring dust finds its way into every closet. Siding crews leave a muddy path to the back door. New paint gets scuffed when an HVAC technician drags equipment through a hallway. Every project has a "dirt radius," and the only way to manage it is to schedule the dirty work first, then the finish work last.
When sellers ask me how I would think about their house, my answer rarely changes: I ask what I would fix if this were my own listing next month. That reframe forces you to rank by buyer impact, not by personal preference.
The Renovation Sequence, Stage by Stage
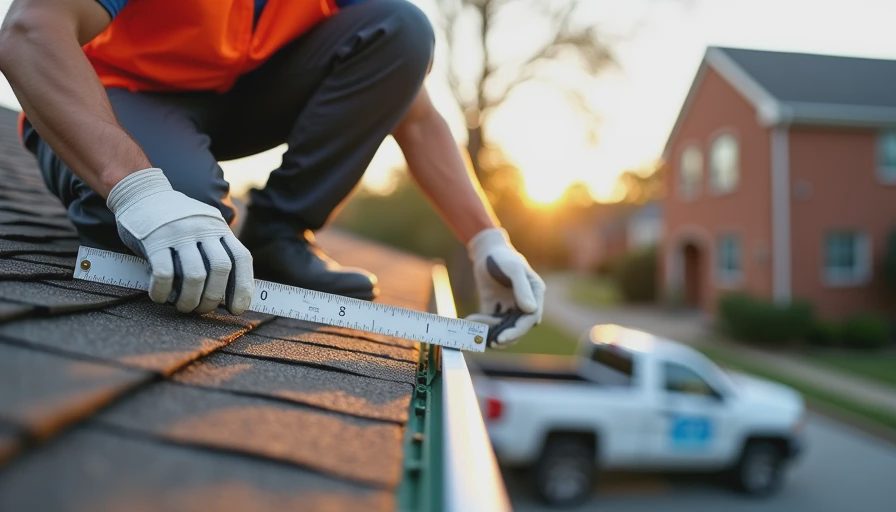
Here is the pre listing renovation checklist I hand to Charlotte sellers when they have roughly six months to work with. When I plan renovations before selling a house, this is the order I start from. It is a sequence, not a menu — skip a stage and the next one gets more expensive.
Stage One (Days 1–60): Inspections and repairs — roof, HVAC, drainage, grading, crawlspace, panel, leaks.
Stage Two (Days 61–150): Large surface projects — flooring, siding, any window or door work.
Stage Three (Days 151–180): Finish work and staging — paint, hardware, fixtures, light switches, then staging.
Stage One: Days 1 Through 60 — Diagnose and Repair
Spend the first two months finding out what is actually wrong. Order a pre-listing inspection the same way you would order one as a buyer; it costs a few hundred dollars and it tells you which repairs will surface during the buyer's inspection at the worst possible moment. A compromised roof, an aging HVAC system, or drainage that pushes water toward the foundation will each end up as a negotiation line item, and repairs made under a buyer's deadline cost more than repairs made on your timeline.
This is the stage where I use the least glamorous part of the budget, and it is also the highest-leverage part. A roof repair in the range of 1,500, or a full replacement in the 12,000 range, buys buyer confidence that no kitchen update can. The same logic applies to HVAC service calls, sump pump replacements, and grading fixes — small dollar amounts, outsized influence on whether the inspection report reads clean.
Stage Two: Days 61 Through 150 — The Big Surface Work
Once the mechanicals are sound, move to the projects with long lead times and big installation footprints. Flooring and siding replacement before selling belong here because they set the tone for every photo and every walk-through, and because they are the hardest to redo once the calendar gets tight. Flooring alone can run three to six weeks from order to installed, and siding crews often book out a month in advance in this area.
This is also the stage where scheduling discipline matters. I have seen sellers order flooring in week 3, lose the slot to a material backorder, and watch the project collapse into the staging window. If you are choosing between a project that fits your timeline and a project you prefer aesthetically, choose the one that fits the timeline. The buyer will never know what you did not do.
Stage Three: Days 151 Through 180 — Finish and Stage
The final six weeks are for the work that makes the house photograph well and feel finished. Interior paint, updated hardware, replaced light fixtures, and clean baseboards all sit in this window because they are fast, cheap, and immediately visible. Nothing here should generate dust, because the staging company is about to bring in furniture.
If you are working from a tight pre listing renovation checklist, this is the stage to trim. Paint the rooms that read largest in photos, replace the dated fixtures in the entry and kitchen, and skip the cosmetic project that would still be unfinished on listing day. An unfinished project signals risk to buyers; a clean, neutral, finished house signals nothing at all.
Why Doing It Out of Order Doubles the Cost
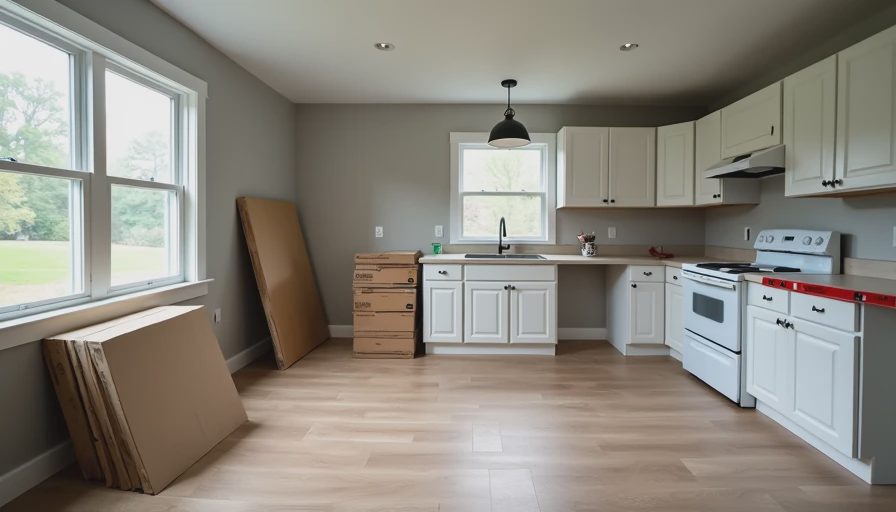
When the sequence breaks, the waste shows up in small, compounding ways:
Paint before floors: the baseboards get repainted after the installers scuff them.
Paint before HVAC work: ducts and coils carried through a finished hallway leave marks you will touch up twice.
Interior paint before siding: outside crews open doors constantly, and the dust from the siding cutters drifts through every room.
Each example is the same failure: a finish was applied before the disruptive work was finished. The fix is not working harder — it is sequencing the projects so that nothing done in stage three ever has to survive stage two. When sellers come to me after trying to do it the other way around, the rework almost always doubles the labor cost of the finished surfaces, which is exactly the budget they were hoping to save.
Your Six-Month Timeline at a Glance
Here is the timeline I review with sellers at the first meeting. It is the same framework I use for any renovations before selling a house in the Charlotte area, whether the seller has six months or eight. The budget figures are typical Charlotte-area ranges, and your actual numbers will depend on your house and your market.
Time Window | Focus | Typical Cost Range | Milestone |
|---|---|---|---|
Days 1–60 | Pre-listing inspection, roof/HVAC/drainage repairs | 12,000 | Clean inspection report in hand |
Days 61–150 | Flooring, siding, window and door work | 20,000 | All surface work done and dust settled |
Days 151–180 | Paint, hardware, fixtures, staging | 8,000 | Photo-ready and listed on schedule |
What I Tell Sellers Here in Charlotte
At home, my wife Lauren keeps a list of our own "someday" projects, and Noah and Sophia have learned that I evaluate every improvement by whether it helps the sale rather than by how it looks in a magazine. That mindset is exactly what I bring to client meetings: I would rather recommend a 6,000 backsplash, because one of them protects the offer and the other is applause for the listing photos.
The honest advice I give every seller in this area is to commit to the order before you commit to the projects. Pick your listing month, mark the inspection window, and only then decide which upgrades fit. Don't renovate for applause. Renovate for the next offer. If you sequence the work so buyer confidence comes first, the finish work sells itself.